
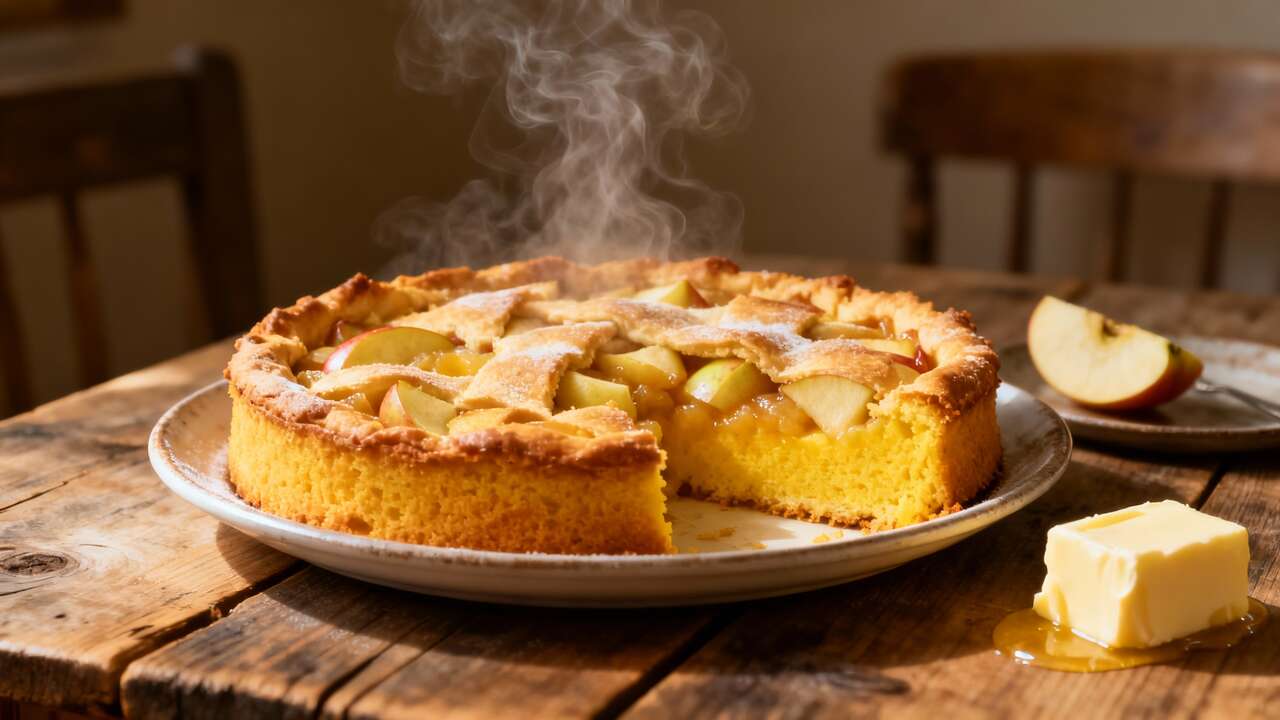

Step back in time to an era of simple pleasures and comforting aromas wafting from the kitchen. In a world of complex recipes and gourmet aspirations, there’s a certain magic in rediscovering the desserts of yesteryear. We’re talking about a recipe so brilliantly simple, it almost feels like a delightful secret passed down through generations. This is the legendary 2-ingredient dump cake, a vintage marvel that has graced countless family gatherings and potlucks since the 1950s. Forget intricate techniques and a mountain of measuring cups. This dessert is about pure, unadulterated comfort, achieved with nothing more than a can of fruit filling and a box of cake mix. It’s the perfect answer to a crisp autumn evening when you crave something warm, sweet, and baked with love, but without any of the usual fuss. It’s not just a recipe; it’s a permission slip to take it easy, to embrace imperfection, and to create something utterly delicious from the humblest of pantry staples. Prepare to be charmed by its rustic appeal and surprised by its decadent, cobbler-like texture. This isn’t just baking; it’s creating a moment of pure, cozy bliss.
10 minutes
50 minutes
facile
€
Ingredients
Utensils
Preparation
Step 1
Begin by preparing your sanctuary of baking. Set your oven to preheat to 350°f (that’s about 175°c). This is a crucial first move, as a properly heated oven ensures your cake bakes evenly from the moment it goes in, creating that perfect golden crust. While the oven is warming up, take out your 9×13 inch baking dish. There’s no need to grease it. The buttery topping and the juicy filling will prevent any serious sticking, which is part of this recipe’s charm.
Step 2
Now for the “dump” part of our dump cake. Open your can of apple pie filling and pour its entire glorious contents into the baking dish. Use a spatula to gently spread the filling into a single, even layer, making sure it reaches all the corners. Imagine you are tucking the apples into a cozy bed. This fruit layer will become the bubbly, sweet, and tender foundation of our dessert. Don’t worry if it looks a little rustic; that’s exactly what we’re aiming for.
Step 3
Here comes the magic trick. Open your box of cake mix. Do not, I repeat, do not prepare the mix according to the box directions. We are using the mix in its beautiful, powdery, dry form. Sprinkle the entire contents of the box evenly over the top of the apple pie filling. Think of it as a layer of sweet, sandy snow covering the apple landscape below. Try to distribute it as evenly as possible with your fingers or the back of a spoon, but don’t press it down. We want it to stay light and fluffy.
Step 4
Next up is the butter, which is the key to creating that irresistible, crunchy, cobbler-like topping. Take your stick of cold unsalted butter and a sharp knife. Slice the butter into very thin pats, about 1/8-inch thick. Arrange these butter slices in a single layer all over the top of the dry cake mix, covering as much surface area as you can. As the cake bakes, this butter will melt, seeping down into the cake mix and transforming it into a rich, golden, and slightly crispy crust. It’s a moment of pure alchemy. Alchemy is an ancient practice that aimed to transform base metals into gold; here, we transform simple butter into a golden, delicious crust.
Step 5
Carefully place your baking dish into the preheated oven on the middle rack. Let it bake for 45 to 55 minutes. You’ll know it’s ready when the top is a beautiful deep golden brown and you can see the apple filling bubbling up enthusiastically around the edges. The aroma filling your home will be your final clue that dessert perfection has been achieved. Let it cool on a wire rack for at least 15 minutes before serving. This allows it to set up slightly, making it easier to scoop.

Chef’s tip
For a truly superior, extra-crispy topping, try the frozen butter trick. Instead of slicing the butter, place the stick in the freezer for about 30 minutes before you start. Once it’s firm, use a standard cheese grater to grate the frozen butter directly over the surface of the dry cake mix. This technique creates tiny, evenly distributed butter shavings that melt perfectly, ensuring every single bite has a buttery, crunchy texture without any dry spots. It’s a professional touch that elevates this simple dessert into something truly special.
A cozy companion
This warm, rustic dessert calls for a beverage that complements its comforting nature. A mug of hot spiced apple cider is the most natural pairing, echoing the apple flavor and adding a layer of cinnamon and clove. For a creamier option, a warm chai latte, with its blend of fragrant spices, is a wonderful choice. And of course, for the ultimate indulgence, nothing beats serving this cake à la mode with a generous scoop of vanilla bean ice cream, which technically isn’t a drink, but it melts into a sweet, creamy sauce that’s simply divine. A simple cup of black coffee also works beautifully to cut through the sweetness.
The “dump cake” is a true icon of mid-century american home baking. Its name, while perhaps not the most elegant, is perfectly descriptive of its method: you simply “dump” the ingredients into a pan and bake. It rose to popularity in the 1950s and 60s, an era that celebrated convenience and ingenuity in the kitchen. With the advent of packaged cake mixes and canned goods, home cooks were empowered to create delicious desserts with minimal effort. This recipe was a staple in community cookbooks and a guaranteed hit at church potlucks and family picnics. It embodies a spirit of no-fuss hospitality, proving that you don’t need complex techniques or expensive ingredients to create a memorable and heartwarming treat for the people you love.
- This Dried Fruit Improves Heart Health, Experts Say - 13 November 2025
- 3 Perennials You Should Divide in Autumn for a Healthier Garden Next Year - 13 November 2025
- This Simple Fruit on the Table Naturally Repels Gnats - 12 November 2025